Stair Cleaning Tips: How to Remove Dust from Corners Before Holidays
Read more
Aaj Tak
www.aajtak.in

Stair Cleaning Tips: How to Remove Dust from Corners Before Holidays

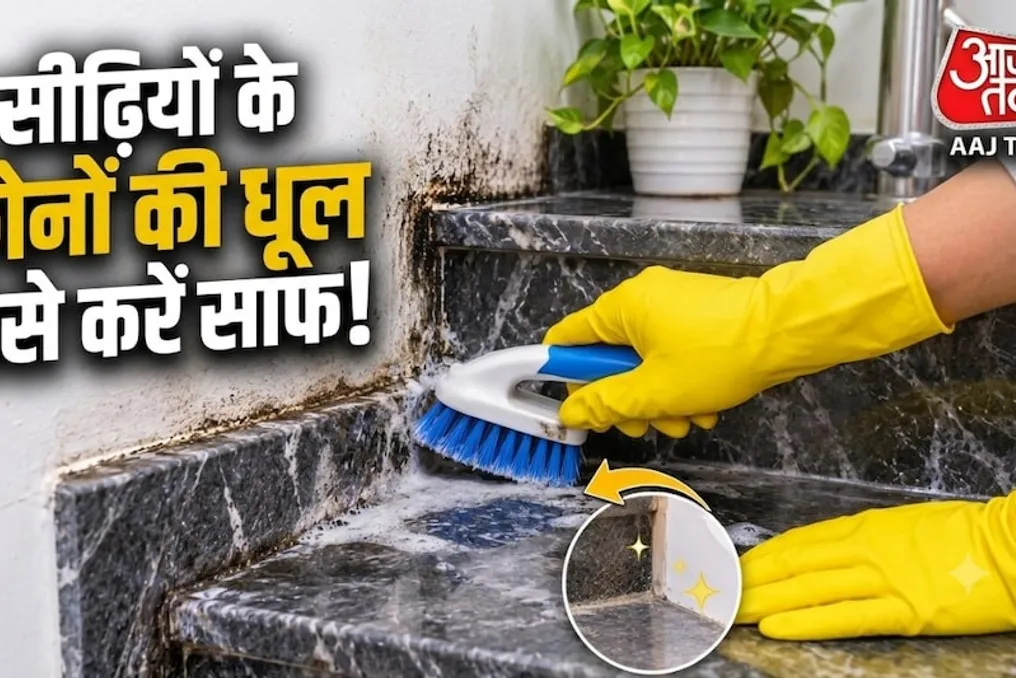
During the celebration of Diwali, it is customary to tidy up every corner of the house. People diligently clean, polishing floors, sofas, tables, and kitchens; however, when cleaning stairs, they often limit themselves to simple floor washing. In this process, the corners of the stairs frequently go unnoticed. Although the central part of the steps is easy to clean, removing dust from the side surfaces and corners requires considerable effort. Even after using a broom and mop, dirt can remain in the corners, which over time turns into a dark residue.

If the corners of your home's stairs are constantly getting dirty, there is no need to worry. There are several simple methods that allow you to clean these areas without extra effort, and they do not require expensive cleaning agents. It is sufficient to use a small brush, a soft brush, or a vacuum cleaner to easily remove accumulated dust from the stair corners. Below are ways to tidy up the staircase during holiday cleaning.

When cleaning stair corners, a large broom is often ineffective because the dust settled along the edges remains in place. In such cases, using a small broom or a thin brush is more useful. This allows for easy cleaning of the stair corners and areas adjacent to the wall. When cleaning, carefully move the brush around the corners, directing the dust outwards. It is important to avoid moving the brush too quickly, as this can kick up dust into the air; therefore, it is recommended to work calmly so that the dirt gathers in one place and is easier to remove.

If you have a vacuum cleaner at home, cleaning the stair corners can become even easier. A special narrow tool that comes with the vacuum cleaner can reach tight spots that are difficult to reach with a regular broom or standard nozzle. First, slowly pass this nozzle tool over each step corner. Then, clean the dust accumulated along the edges and near the wall. This approach helps collect the dust directly into the vacuum cleaner instead of scattering it around, which also reduces cleaning time.

When cleaning stairs, attention is often focused only on the lower part of the steps, while the railing joints, the space underneath them, and the area near the wall also accumulate dust. If these areas are not cleaned for a long time, a layer of dirt can form. A microfiber cloth can be used to clean these areas. For dry dust removal, a dry towel is sufficient. If any dirt is stuck, the cloth can be slightly dampened and wiped, and then the surface should be thoroughly dried with a dry towel.

One small mistake when cleaning stairs can increase the amount of work. Many people immediately use a wet mop, even though dry dust has already accumulated in the corners. In this case, the dry dust, mixed with water, can turn into sticky grime that is harder to remove. Therefore, it is necessary to first remove the dust from the corners using a broom, brush, or vacuum cleaner. After that, cleaning should be done using a mild detergent and a small amount of water appropriate for the type of stairs. It should be remembered that you should not pour a large amount of water on the stairs, as this increases the risk of slipping.

Applying the correct method when cleaning stairs can save both effort and time. You should always start with the top step and gradually move down. First, remove the dust from the upper corners and edges, and then clean the lower steps. This simplifies the final collection of dust, which falls from top to bottom. If you start cleaning from the bottom, the dust falling from the upper steps may require rewashing or sweeping.

How often should stair corners be cleaned?

If the stairs are used daily, it is recommended to remove dust from its corners every two to three days. In general, good stair cleaning should be done once a week. If there are pets in the house or if dust settles on the stairs very quickly, the frequency of cleaning should be increased according to needs.
Similar stories

Four Ways to Remove Black Marks from Shoes and Slippers on the Floor
Read more
www.aajtak.in

Four Ways to Remove Black Marks from Shoes and Slippers on the Floor

Even after thorough cleaning, if numerous dark spots are visible on the floor, the entire house can look untidy. This is especially noticeable on light, cream, or white surfaces, as shoe and slipper marks appear quickly. Often, these spots remain even after washing the floor and scrubbing with detergent. Instead of buying expensive cleaning agents, some common household items can be used to lighten these stubborn marks without excessive effort.

These black marks form when the rubber sole of shoes or slippers rubs against the floor repeatedly. Sometimes similar lines appear when moving furniture, such as chairs or tables. If such marks appear on the floor, you can try one of four simple methods.

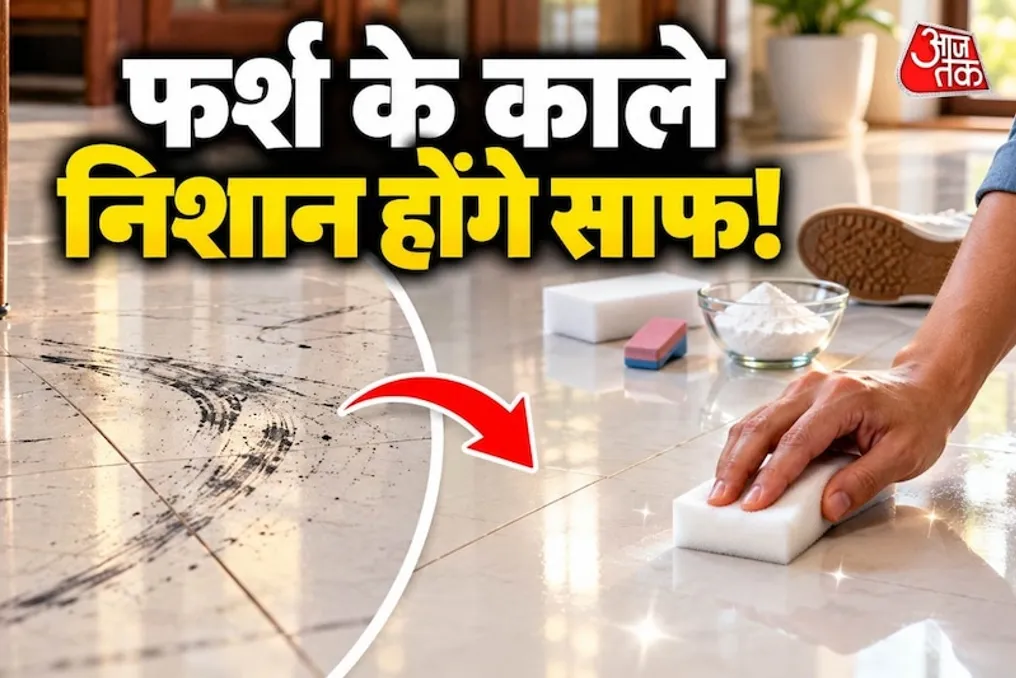
To remove black marks from the floor, you can use a melamine sponge, also known as an eraser sponge. Due to its structure, it effectively removes dirt and rubber marks stuck to the surface. You need to slightly dampen the sponge and gently rub the soiled area. After this, wipe the area with a clean cloth. It is important to avoid applying strong pressure, as there is a risk of scratching or damaging some types of flooring.

Although it may seem unusual, a clean shoe can also help get rid of black marks. Take a clean, light-colored shoe with a rubber sole and gently rub the spot with it. Sometimes this helps lighten a black mark on the floor. However, it is strictly forbidden to use dirty or dark shoes so as not to leave new stains on the surface.

An eraser, used for erasing pencil marks, can also be useful for removing rubber marks on the floor. First, wipe the spot with a damp, clean cloth. Then, on a dry surface, gently rub with the eraser. The black marks will gradually begin to fade. After finishing the cleaning, remove small pieces of eraser with a cloth. Before using it on wooden or delicate surfaces, it is recommended to test it on an inconspicuous area.

If the spots are very old and ingrained, you can try baking soda. Mix a little baking soda with water to form a thick paste. Apply this paste to the spot and gently rub with a soft cloth. After some time, remove the paste with a clean, damp rag, and then wipe the floor with a dry cloth. It should be remembered that baking soda can have a slight abrasive effect, so it should not be used on glossy, polished, or fragile surfaces without prior testing.

Some people try using a vinegar and water solution to remove black spots, but this is not suitable for all types of flooring. Vinegar can damage marble, natural stone, and some types of wood. Therefore, you should refrain from using this agent if you do not know the type of your floor.

If home remedies do not help, you need to use a specialized cleaning composition suitable specifically for that type of floor. Before applying any new cleaning product or folk remedy, be sure to conduct a test application on a small area.

To avoid the constant need to clean the floor, it is worth taking several simple measures. You should avoid walking in outdoor shoes inside the house. Place mats at the entrance door and take off your shoes upon entering. Additionally, rubber or felt pads should be attached to the legs of furniture (chairs, tables). This reduces the likelihood of scratches from furniture sliding. It is also important to regularly clean the floor so that dust and other dirt do not accumulate.

Diwali Cleaning Tips: How to Clean Hard-to-Reach Spots Under Heavy Furniture Without Moving It
Read more
www.aajtak.in

Diwali Cleaning Tips: How to Clean Hard-to-Reach Spots Under Heavy Furniture Without Moving It

In India, people begin a thorough cleaning of their homes before the Diwali festival. While cabinets, fans, windows, and floors are usually cleaned, dust accumulated under sofas, beds, and heavy furniture often remains. Moving such furniture can be laborious, and there is a risk of damaging the flooring. Because of this, many postpone cleaning these areas, leaving them dirty.

However, there are ways to clean the space under and behind furniture without moving a sofa, bed, or large wardrobe. This does not require expensive cleaning agents or special machines; ordinary household items can be used to reach these difficult spots. Below are simple methods for cleaning dust and dirt accumulated under and behind furniture before Diwali.

How to Assess the Space Under Furniture

Before starting the cleaning, you should use your mobile phone's flashlight to carefully inspect the space under the sofa, bed, and wardrobe. This will help you understand the volume of accumulated dust and the available area for cleaning. You need to check the free space between the furniture and the floor, ensuring there are no wires, wooden planks, or furniture legs. If the space is limited, you can use a narrow brush or a cloth attached to a long handle. First, you must remove all toys, paper, and other items lying on the floor.

It is important to remember: if the sofa is electric or equipped with a motor, be sure to unplug it before starting work. Avoid putting hands or sticks into the moving parts of the device.

Creating a Long Brush from Old Socks or Cloth

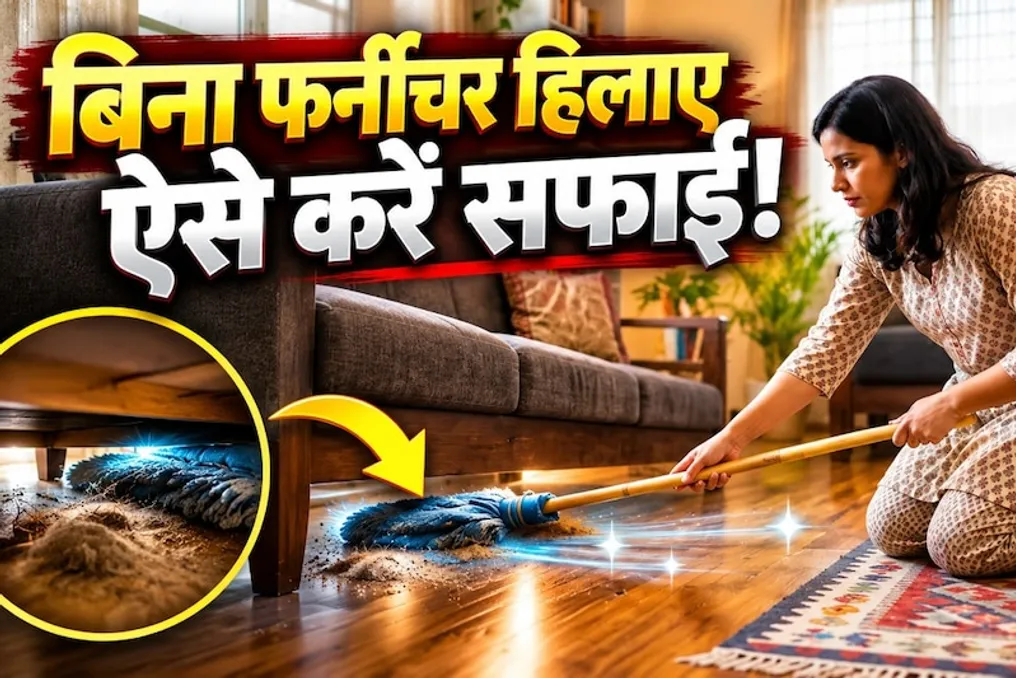
If you do not have a professional long broom bought from a store, you can create one from an old sock or cotton fabric. Take any long, thin stick or pole you have at home and firmly attach a piece of cotton fabric or an old sock to one end. Ensure the fabric is securely fastened so it does not fall off during cleaning. Then, slowly rotate this pole under the sofa and bed, cleaning in small sections instead of scrubbing the same spot repeatedly. When dust starts to accumulate on the fabric, it should be shaken out or washed. This way, hidden dust under the furniture can be removed with minimal effort.

Dusting Behind Sofas and Wardrobes

Dust, cobwebs, and small debris often accumulate between the wall and the sofa or wardrobe, making them hard to reach by hand. For this purpose, a long brush or a thin stick can be used. First, gently remove cobwebs from the corners of the wall and behind the furniture. After that, sweep from top to bottom with the long brush. It is also recommended to wipe the baseboard along the wall with a dry cloth to remove stuck dust. Finally, the collected dust and debris should be swept up and disposed of.

Note: If there are electrical panels or wires behind the furniture, do not use a wet cloth or metal rods near them. When cleaning, avoid pulling or displacing electrical cables.

Cleaning with a Broom If No Vacuum Cleaner is Available

Even though not every home has a vacuum cleaner, this does not mean it is impossible to clean under furniture. In such cases, you can use a narrow broom. Slowly guide the broom under the sofa or bed and direct the dust in one direction. It is important not to spin the broom too fast, otherwise, the dust may scatter throughout the room. The collected dust should be removed immediately. If the broom is too thick and cannot fit under the furniture, you can tie a piece of thin cotton material to its front part to facilitate the process.

Final Wipe with a Damp Cloth

Even after removing dry dust, some dirt may remain on the floor. To eliminate it, use a slightly damp cotton cloth. Before use, the cloth must be moistened with water and thoroughly wrung out so that it does not drip. Then, using a long pole, gain access under the furniture and gently wipe the surface according to the type of floor. If you have wood or laminate flooring, try not to use too much water. After cleaning, allow the area to dry completely.

It should be noted that the same cleaning agent is not suitable for all types of floors. Especially before applying vinegar, strong chemicals, or steam on wooden floors, you must read the care instructions for them.

Precautions When Cleaning for Diwali

Do not attempt to move heavy wardrobes or furniture attached to the wall yourself, and never remove their safety fastenings. During cleaning, do not use excessive amounts of water. If you notice signs of dampness or leaks under the furniture, do not ignore them. If you find mold, do not blow it away with a broom, but address the cause of the increased humidity.

Ways to clean a kitchen hood from grease and smoke without disassembly
Read more
www.aajtak.in

Ways to clean a kitchen hood from grease and smoke without disassembly

Daily cooking leads to smoke and grease released during preparation making the inside of the kitchen hood very dirty and sticky. A thick layer of grease accumulates on the hood filters, which makes it difficult or cumbersome to remove or disassemble.

If you want to clean the hood without removing or disassembling it, you can use several simple home methods. This will save effort, and the hood will look brand new.

To begin, you need to prepare the ingredients: two tablespoons of caustic or baking soda, one tablespoon of vinegar or lemon juice, one cup of boiling hot water (in a large pot or cauldron), dish soap, an old brush, as well as a bucket or spray bottle.

For a quick cleaning, place a large pot under the hood, pour water, vinegar, and baking soda (or caustic soda) into it, and bring it to a boil. Then turn on the gas stove and set the hood to high speed. The steam from the boiling water, entering the hood, will help melt the stubborn greasy dirt that has built up over months, which will start dripping down.

Next, prepare a solution by mixing hot water, a little dish soap, and vinegar in a spray bottle. This solution must be thoroughly sprayed onto the filters and external parts of the hood, leaving it for 10–15 minutes to soften the grease.

After this, the internal and external surfaces of the hood should be carefully wiped with a damp cotton cloth or microfiber. For cleaning hard-to-reach places, you can use an old toothbrush. Finish the process by wiping the hood with a dry clean cloth so that it dries completely. In this way, the hood will become shiny without requiring disassembly or removal of parts.

Popular