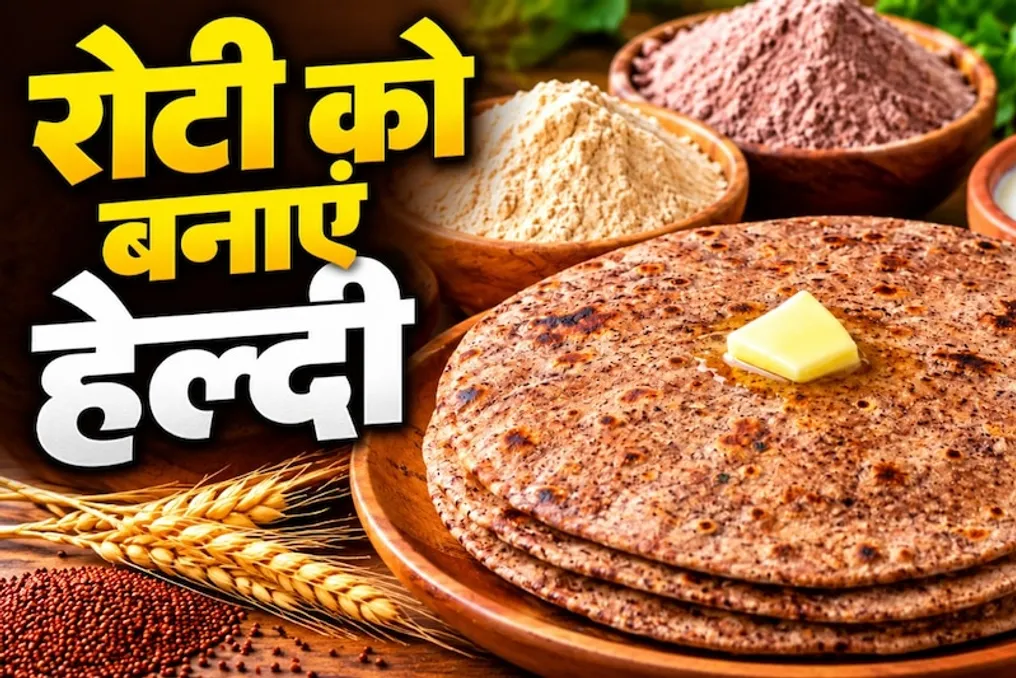
How to mix ragi and wheat flour to make healthy and nutritious flatbreads
Read more
Aaj Tak
www.aajtak.in

How to mix ragi and wheat flour to make healthy and nutritious flatbreads

Most residents of India consume wheat flour bread daily, which provides satiety and energy. However, if you aim to make your daily bread more nutritious, you can add ragi flour to the wheat flour. Ragi flour contains many nutrients such as calcium, fiber, iron, and protein, which helps strengthen bones and improve digestion.

Ragi flatbreads can seem dry or hard to some people. To make them softer and tastier, they can be mixed with wheat flour. The correct way to mix wheat and ragi flour is presented below.

Ratio of Wheat and Ragi Flour

If you are mixing ragi with wheat flour for the first time, it is recommended to start with a small amount. You can use half a cup of ragi flour for 2 cups of wheat flour. Gradually, you can increase this proportion up to equal use of both types of flour.

Dough Preparation Method

First, place the wheat and ragi flour in a large bowl and add salt to taste. Then, gradually add water and knead a soft dough. Leave the dough covered for some time to allow it to stabilize well. After that, form small balls, roll them into flatbreads, and fry them on a hot pan on both sides. You can also brush the flatbread with a small amount of ghee.

Benefits and Consumption Recommendations

When consuming ragi flatbreads, you should consider the quantity based on your digestive capacity and individual needs. It is best to start with a small amount. If you have kidney problems or other health issues, you must consult a doctor or nutritionist before regularly consuming ragi flatbreads.

Disclaimer: Ragi and wheat bread can be part of a balanced diet, but it is not a cure for any diseases. If you have blood sugar levels or other health problems, you should seek advice from a nutrition specialist.

Similar stories

New Egg Ema Datshi Recipe: Bhutanese Dish with Egg and Chili, Favorite of Deepika Padukone
Read more
www.aajtak.in

New Egg Ema Datshi Recipe: Bhutanese Dish with Egg and Chili, Favorite of Deepika Padukone

If you are tired of monotonous egg dishes, you can try something new. Usually, omelets, bhurji, or curry are made from eggs, but many have not tried the famous dish from Bhutan—Ema Datshi. This dish is a favorite of Bollywood actress Deepika Padukone and has recently attracted attention due to a new variation.

Food influencer Akshada Desai Lobo shared a simple recipe using eggs in this Bhutanese dish. This variation is called Egg Ema Datshi. In it, eggs are cooked in a thick, spicy sauce made from cheese and green chili. Its taste is spicy, creamy, and rich in cheese. It is worth noting that not many ingredients are required to prepare this dish.

What is the traditional Bhutanese dish Ema Datshi?

Ema Datshi is a traditional and popular dish in Bhutan. In the Bhutanese language, 'Ema' means chili, and 'Datshi' means cheese; thus, the essence of this dish lies in the combination of chili and cheese. It is usually served with red or white rice. This dish has become popular not only in Bhutan but also among Indians, who enjoy eating it for breakfast.

How to cook Egg Ema Datshi?

Information about the ingredients and preparation method for Egg Ema Datshi is presented in the article, but detailed instructions are not provided. The dish is recommended to be served hot to get maximum enjoyment. In the Bhutanese style, it can be served with rice, while at home, it can also be eaten with roti, paratha, or bread.

Roti Pakoda Recipe: Crispy Potato Fritters Made from Leftover Flatbreads
Read more
www.aajtak.in

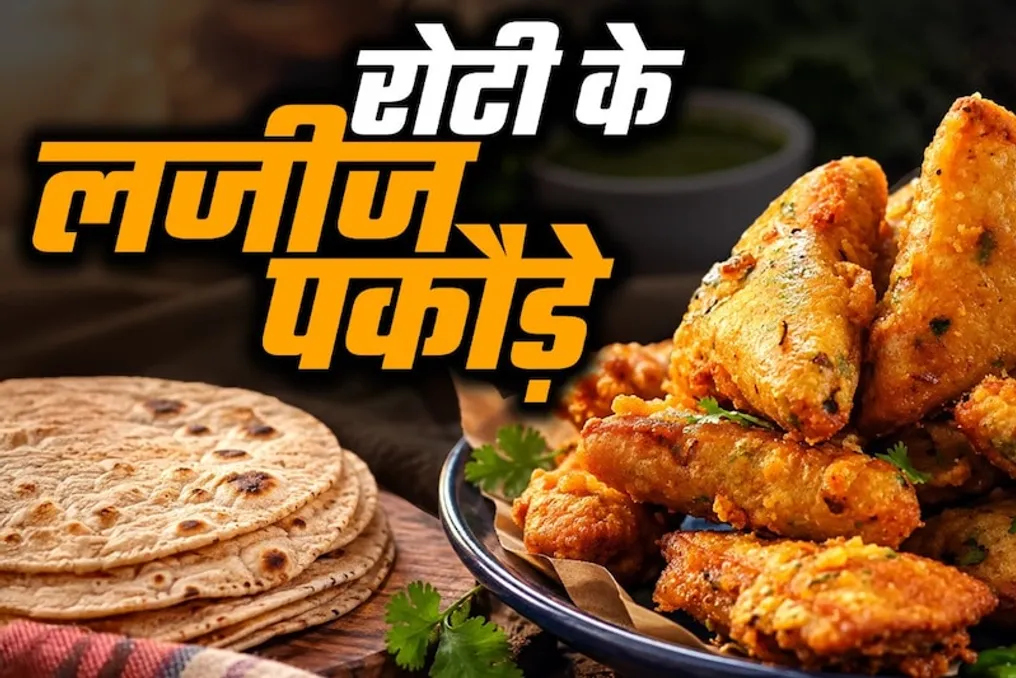
Roti Pakoda Recipe: Crispy Potato Fritters Made from Leftover Flatbreads

Mention of pakodas whets the appetite, and enjoying hot fritters is especially pleasant during the rainy season or with an evening tea. Although pakodas are usually made from potato, onion, cabbage, or spinach, if you are tired of monotonous snacks, you can try something new.

To prepare delicious and crispy fritters, you do not need to buy special ingredients from the store. They can be made from leftover flatbreads from yesterday, which turn out very tasty and crispy on the outside, with a soft potato filling inside. These pakodas pair perfectly with green chutney or tomato sauce.

Below is the recipe for making crispy pakodas from yesterday's flatbread and a list of necessary ingredients.

You will need for preparation:

  • 2-3 medium boiled potatoes
  • Leftover flatbreads from the previous day (as needed)
  • 1 tablespoon of finely chopped fresh coriander
  • 1 teaspoon of chili flakes
  • ½ teaspoon of red pepper powder
  • 1 teaspoon of finely chopped green pepper
  • 2 tablespoons of besan
  • A pinch of turmeric powder
  • Salt to taste
  • ¼ teaspoon of ajwain
  • ½ teaspoon of cumin
  • A pinch of baking soda (optional)
  • Vegetable oil for frying
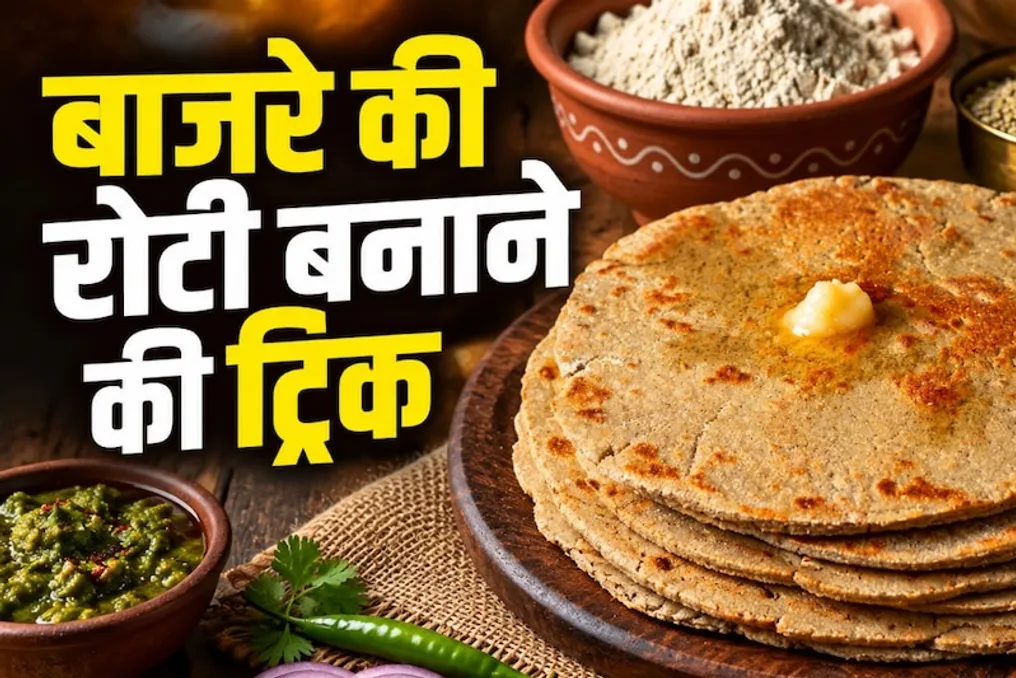
Tips for making soft millet roti: how to avoid cracks and make it tender
Read more
www.aajtak.in

Tips for making soft millet roti: how to avoid cracks and make it tender

Millet roti is considered very healthy and is often eaten by families during the winter season. However, problems sometimes arise during preparation: the roti may break, become too hard after baking, or the edges may tear.

Enjoying hot millet roti in cold weather is especially pleasant; it is traditionally eaten with honey, butter, garlic paste, or sardines. Besides its taste, millet roti is an excellent source of fiber and many essential nutrients, which explains its popularity in winter. Nevertheless, the cooking process can be difficult for some people.

Situations often occur where the dough cracks during kneading, the edges tear while rolling, and the finished roti turns out quite hard. If you want to learn how to cook soft and tasty millet roti at home, simple methods are presented below.

Tips for making soft millet roti

First, mix the millet flour with salt in a bowl. Then, knead the dough by gradually adding warm water. The dough should be kneaded well for 4-5 minutes until it becomes smooth and soft. It is important to ensure that the dough is neither too dry nor too sticky. If the dough starts to crack when pressed, you can add a little more water. After that, cover the dough and let it rest for 5 minutes.

Next, form four equal balls from the dough and cover them. Take one ball, lightly dust it with dry millet flour. Placing it on a clean surface or parchment paper, gently shape it into a circle by lightly patting it with your fingers. The roti can be stretched to about 6 inches. If the edges start to tear, they can be carefully pressed with your fingers. It is also possible to use two sheets of parchment paper to give it shape.

Heat a skillet over medium heat and carefully place the roti on it. When the top surface of the roti becomes slightly dry, drizzle a small amount of water over it and distribute it. Flip the roti after about 30 seconds. Bake on the other side until light brown spots appear, then flip it again. After that, gently press the edges with a cloth so that the roti cooks completely. At the end, you can grill the roti over an open flame, but this must be done with caution.

When the roti is fully cooked, remove it from the skillet and brush a small amount of ghee on top. Millet roti can be served with butter, honey, garlic paste, eggplant, or dal. It also pairs well with yogurt (chaach).

Tips for keeping millet roti soft

To keep the roti soft, use fresh flour, as old flour can be dry and contribute to cracking during cooking. When kneading the dough, it is recommended to use warm water, adding it in portions as needed. After cooking, wrap the rotis in a clean cotton towel or place them in a covered pot so they do not harden too quickly. When reheating, you can lightly grease the skillet with ghee. If you initially had difficulty making millet roti, you can add a little wheat flour to the dough, as this will make handling the dough easier.

Popular